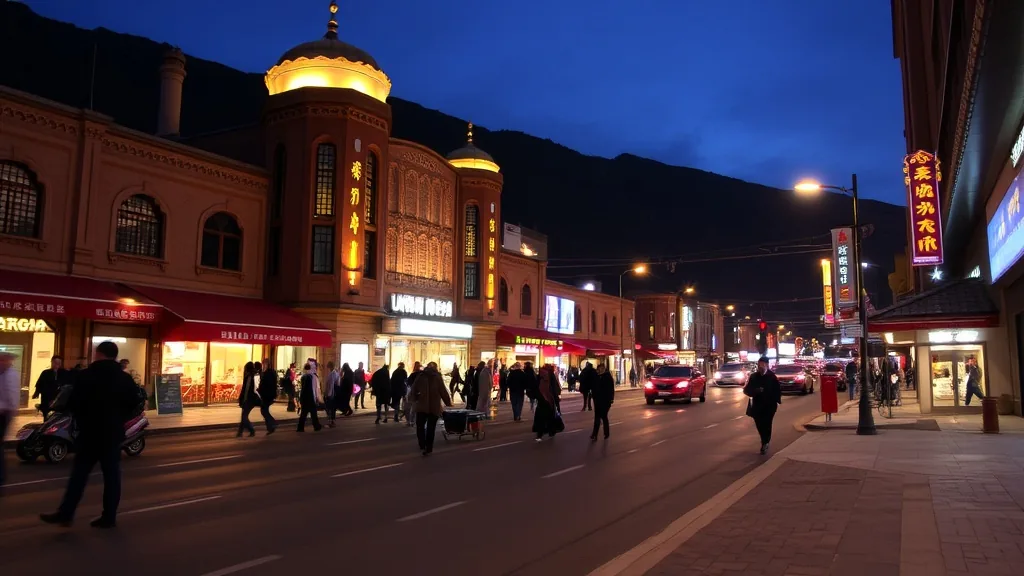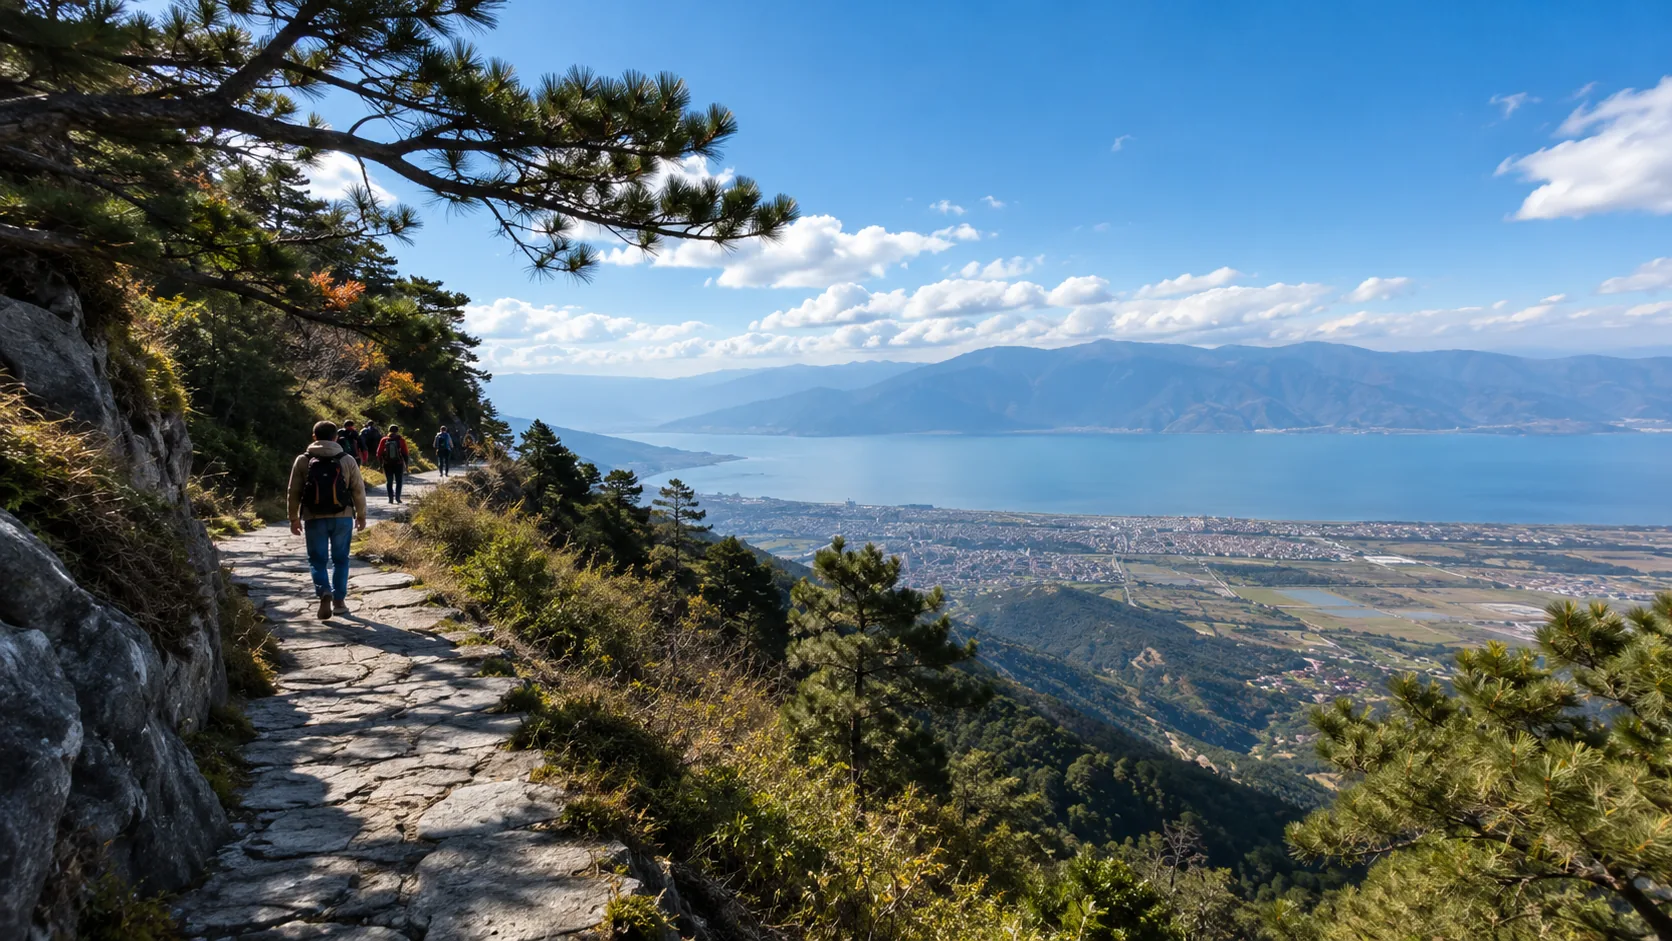



Day 1: Arrival in Zhangjiajie, Stay in Wulingyuan, Familiarize with the Shooting Area
That time, I took the high-speed train from Changsha South to Zhangjiajie West Station. I caught the 11:00 AM train, which had plenty of empty seats, and enjoyed the mountain scenery out the window for the 2 hour and 20 minute journey. After exiting the station, turn right to find the “Tourist Passenger Center.” The blue sign with white lettering for the “Wulingyuan Special Line Bus” is very obvious. It costs 13 per person, and both QR code scans or cash are accepted. The bus is a blue mid-sized coach with a luggage compartment; I had no trouble fitting my 24-inch suitcase. The air conditioning was strong, and as we passed through Cili County, I could see scattered roofs of Tujia stilt houses. 40 minutes later, it pulled steadily into the Wulingyuan Bus Station, saving nearly 100 compared to a taxi—which costs around 120 and risks getting stuck at the highway exit.
I chose to stay at the “Mountain View Retreat” Guesthouse next to the Landmark Gate (Biaozhimen). The owner is a local Tujia man named Wu. The room windows face the ridges of Huangshizhai, so you can hear birds chirping in the morning. It was 200 per night including breakfast for two—fresh steamed buns, millet porridge, and homemade pickled spicy radish, very filling. The most convenient part is the 8-minute walk to the Landmark Gate. Turn right from the guesthouse along “Wulingyuan Avenue,” pass two traffic lights (at the second intersection there is an old lady selling oranges, 5 for 3 jin), and you will see the stone archway of “Zhangjiajie National Forest Park” at the entrance. The owner even hand-drew a map marking the shortest walking route to the Tianzi Mountain Cableway, which is 200 meters shorter than the GPS route.
Around 3:00 PM, I explored the area around the Landmark Gate. I first checked the guide map in the square (squinting because the text was so small), then directly asked a staff member in a dark blue uniform: “How do I get to Dianjiangtai?” He tilted his chin toward the west: “Follow this road to the end, turn right when you see the blue ‘Tianzi Mountain Cableway’ sign, and take the eco-bus for 15 minutes.” On the way, I met an auntie selling Kudzu root powder for 10 per bag, claiming it was hand-picked and ground. I bought a bag and mixed it with hot water; it was slightly sweet with a bit of earthy taste, a great afternoon tea to relieve fatigue. After memorizing the cableway location, I went to a nearby supermarket to buy a bottle of water (3) and bread (5) as supplies for the early start the next day.
At 8:00 PM, I used the “ColorSalty” (Lijing Weather) APP to check the forecast for “Wulingyuan District.” I looked at the data for the next 3 days: sunrise time accurate to the minute (e.g., 4:52 the next day), sunset at 19:18, and a sea of clouds probability of 65% (anything above 60% is worth waking up early for). Last time, I didn’t check carefully and used another app that only showed “cloudy,” resulting in a sea of clouds probability of only 30%, making my 4:30 AM wake-up a waste of time. This time, I set my alarm for 4:20 and put the phone on maximum volume by my pillow for fear of oversleeping.
- Morning: High-speed train arrival at Zhangjiajie West Station (Departure 11:00, Arrival 13:20) → Turn right at exit to Tourist Passenger Center for Wulingyuan Special Line Bus (13, 40 minutes) → Get off at Wulingyuan Bus Station, 10-minute walk to “Mountain View Retreat” Guesthouse (200/night including breakfast)
- Afternoon: 15:00 explore Landmark Gate area, confirm Tianzi Mountain Cableway direction with uniformed staff (walk to end of road, turn right at blue sign) → Buy Kudzu powder (10) and water (3) as supplies
- Evening: 20:00 check forecast with ColorSalty APP (Sunrise 4:52, Sunset 19:18, Sea of Clouds 65%) → Set alarm for 4:20, phone by pillow
Case Study: I once saw a tourist spinning in circles at the Landmark Gate square, saying he couldn’t find the bus to the cableway. Later, I found out the GPS had led him to the East Gate, making him walk an extra 1 km for nothing. Actually, asking the staff is the most direct way; they are here every day and can point the way with their eyes closed.
|
Item
|
Details
|
Cost/Time
|
|---|---|---|
|
High-speed Train
|
Changsha South → Zhangjiajie West (2h20m)
|
Ticket approx 150
|
|
Bus Transport
|
West Station → Wulingyuan (40m)
|
13/person
|
|
Taxi Comparison
|
West Station → Wulingyuan (approx 50m, prone to traffic)
|
Approx 120
|
|
Guesthouse
|
Mountain View Retreat (8m walk to Landmark Gate)
|
200/night including breakfast
|
|
Weather Tool
|
ColorSalty APP (Monitor sunrise/sunset + cloud sea probability)
|
Free
|
Key Reminders: The last bus is at 19:00, don’t miss it; book guesthouses 1 week in advance, as prices rise to 300+ during peak seasons (summer/National Day); prioritize asking uniformed staff and don’t trust “guides” who approach you proactively. By following this rhythm, you can master the location and transport on the first day, so you won’t panic for the sunrise the next morning.
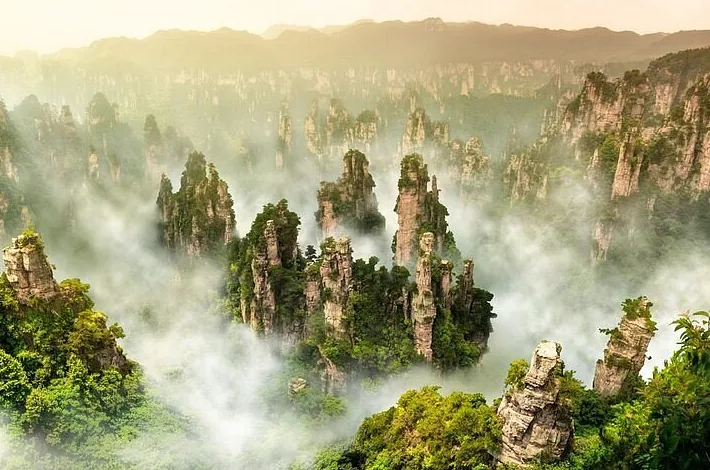
Day 2: Shooting Sunrise at Dianjiangtai, Wake up at 4:30, Shoot 5:00-7:00
To photograph the sunrise at Dianjiangtai, I specifically set my alarm for 4:30 AM. The phone vibrated on the nightstand with a loud hum. When I got up, it was pitch black outside. I put on a fleece layer and a windproof jacket (the mountain is about 10°C colder than the base, and the wind is bone-chilling). Wu, the guesthouse owner, handed me a warm corn cake: “Eat something to line your stomach, there’s nowhere to buy breakfast on the mountain.” Leaving the guesthouse, I turned left, passed an old lady’s stall selling soy milk (5 a cup, sweet or savory), and walked up the bluestone slope. In 10 minutes, I saw the blue sign for “Tianzi Mountain Cableway”—white text on a blue background, much more prominent than the nearby advertisements.
The ticket window had just opened when I arrived (4:45), with 3 people in line. A round-trip ticket is 72 including the descent. The lady at the window said, “The cableway reaches the top in 8 minutes, and the eco-bus stops on request.” The cable car cabin is blue, and after closing the door, you can see the treetops rushing backward. 8 minutes later, it stopped with a creak. Cold wind hit my face as I exited the station, so I zipped my jacket to the top. The eco-bus is a green mid-sized coach. The driver, with a cigarette in his mouth, shouted: “Where to?” “Dianjiangtai!” He pointed to the rearview mirror: “Sit in the back, 15 minutes to the parking lot.” The bus followed the winding mountain road, bypassing the “Helong Park” stop as requested to drop me at “Dianjiangtai.”
The parking lot isn’t large and has a crooked pine tree. There are stone benches under the tree (though it was too early for anyone to be sitting there). Walk up the bluestone path for 5 minutes until you see the “Dianjiangtai” stone tablet (engraved with large red characters); the viewing platform is right next to it. I didn’t arrive until 5:20 last time, and two photography brothers had already set up their tripods by the tablet—20 minutes too late, I missed the golden hour when the warm pre-sunrise light dyes the sea of clouds, and I regretted it deeply.
Shooting Focus must be timed perfectly: 30 minutes before sunrise (around 5:00), the horizon turns an orange-red “fish-belly white,” and the sea of clouds looks like freshly carded cotton spread among the peak forest. Set up your camera on a tripod and use a long exposure of 2-5 seconds (ISO 100, f/8) to capture the movement of the clouds, making it look like a breathing veil over the peaks. When the sun climbs over the ridge from the back right (around 6:00), sunlight pierces through the clouds and instantly gilds the outlines of the peaks. At this point, switch to a wide-angle lens (16-35mm) to capture the panorama, even fitting the tips of the distant “Yubi Peak” into the frame. Last time, I started shooting at 5:25 when the warm light was already gone, resulting in only a bright white sun and peaks without depth.
I tested two Camera Positions:
- Left Platform: Walk 20 meters to the left of the viewing platform to find a narrow stone path leading to a small platform directly facing the peaks. At sunrise, the sun emerges from the mountain depression behind you on the right, making the peaks look like they are holding a fireball while the clouds churn at your feet. Use a 70-200mm telephoto lens to zoom in and capture the texture of the cloud waves.
- Right Stone Steps: Go down 3 steps at the end of the platform (watch out for slippery moss) for a low-angle shot. Use the nearby low peaks as a foreground, let the “Dianjiangtai” tablet show halfway, and stack the distant high peaks like the white space in an ink painting. With the sky occupying two-thirds and the peaks one-third, it looks exceptionally clean.
Case Study: I once saw a young man in a short-sleeved shirt who hadn’t brought a light jacket. He was shivering so much on the viewing platform that he couldn’t hold his camera steady, and all his photos were blurry. He only recovered after borrowing my fleece—the mountain at dawn is no joke; the wind is much fiercer than at the base.
|
Item
|
Details
|
Cost/Time
|
|---|---|---|
|
Wake up & Departure
|
Wake up at 4:30 AM, leave guesthouse at 4:40 (left turn on bluestone slope)
|
10 minutes
|
|
Cableway
|
Identify “Tianzi Mountain Cableway” blue sign → Buy round-trip 72 → 8 minutes to top
|
Cost 72, Time 8 minutes
|
|
Eco-bus
|
Hail green coach outside cableway → Request “Dianjiangtai” → 15 minutes to parking lot
|
Free, Time 15 minutes
|
|
Walk to Platform
|
Walk 5 minutes along stone path from parking lot → See “Dianjiangtai” tablet
|
5 minutes
|
|
Total Travel Time
|
Guesthouse to Cableway 10m + Cableway 8m + Bus 15m + Walk 5m = 38 minutes
|
Total 38 minutes
|
|
Essential Gear
|
Tripod (for long exposure of clouds; I use a Benro carbon fiber), thin fleece jacket (warmth against wind)
|
Tripod approx 500
|
|
Shooting Settings
|
Before sunrise: Long exposure 2-5s (ISO 100/f8); After sunrise: Wide-angle 16-35mm for panorama
|
No extra cost
|
Key Reminders: The last eco-bus is at 18:00, don’t miss it if you want to descend after sunset; the stone paths have moss, so wear non-slip shoes; keep the tripod legs short, as the wind can cause shaking. Following this rhythm, departing at 4:40 will get you to the viewing platform by 5:18, just in time for the warm light at 5:20 to dye the clouds. The resulting photos will have flowing clouds and layered peaks—tested and effective, don’t be late like I was last time.
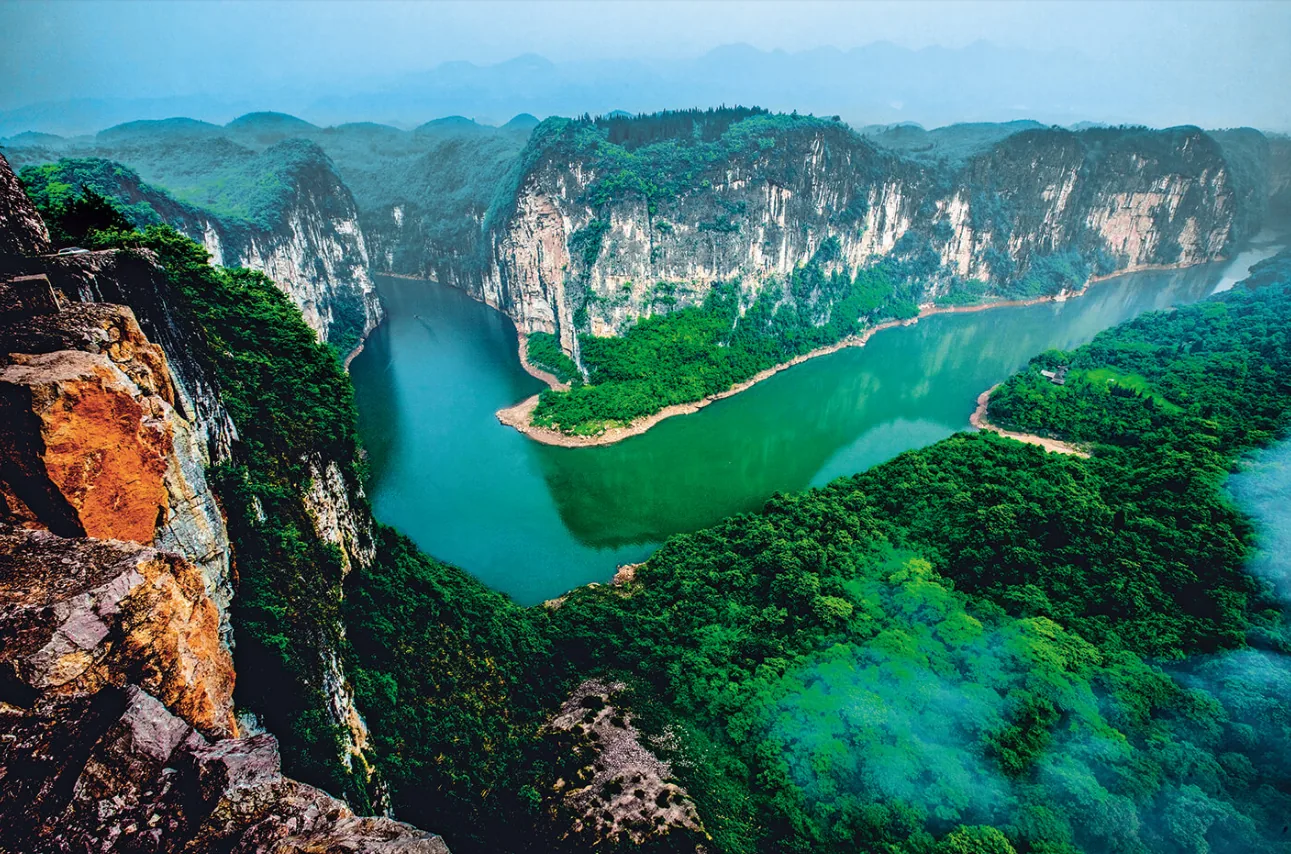
Day 3: Shooting Sunset at Yubi Peak, Arrive at 16:00, Shoot 17:00-19:00
That day, I left the guesthouse at 3:50 PM and walked straight down Wulingyuan Avenue—this is a two-way four-lane road. On the right, there are stalls selling Tujia cured meat (the hanging strips are shiny and oily, 50 per jin), and on the left is a green belt planted with osmanthus trees. In mid-April, you can still smell the lingering fragrance. Exactly 20 minutes later, I saw the blue sign for “Ten-Mile Gallery Visitor Center.” There were volunteers in red vests at the entrance. I asked, “How do I get to Yubi Peak for the sunset?” She pointed to the small train tracks on the right: “Take the one-way to Wolong Ridge and walk 8 minutes from the terminus.”
The ticket window is on the second floor of the visitor center. A one-way small train ticket is 38 (round-trip is 76; choosing one-way is better for sunset as you can walk back or take another vehicle). The man at the window said, “The train runs every 15 minutes, last one at 18:30.” I chose Carriage No. 4 (window seat for the peaks). The train is dark green and moves slowly. When passing rock formations like “Longevity God Welcoming Guests” or “Old Man Gathering Herbs,” the driver honks to remind you to take photos. 20 minutes later, it stopped at Wolong Ridge Station. Follow the “Yubi Peak” signs—they are wooden with red-painted arrows. The 8-minute walk includes a downhill section with wild azaleas blooming pink along the road.
When I saw the wooden viewing platform, two elderly men with telephoto lenses were already adjusting their cameras. I didn’t arrive until 17:30 last time, and the railings were so crowded I almost couldn’t set up my gear—half an hour late, almost missing the golden hour of oblique light 1 hour before sunset. This time, I jogged a bit and arrived at 17:05, just catching the light.
Shooting Focus: Keep an eye on the hour before sunset (around 17:00). The sun moves to the western peaks, and the light cuts across diagonally. The “pen tips” (actually slender stone pillars) of Yubi Peak will reflect light like they were coated in gold powder, with shadows stretching from the base into the valleys, making the peaks look instantly three-dimensional. Use a telephoto lens (70-200mm) to zoom in on a single peak. Set the aperture to f/5.6 and ISO 200 to capture the reflection and shadow details clearly. That time, I captured a close-up of a “pen tip holding the setting sun,” and many people on social media asked where it was taken. After the sun goes down (18:30), don’t rush to pack up. The sunset glow turns from orange-red to pink-purple, and the sky looks like a palette had been knocked over. The peaks become black silhouettes. Use a wide-angle lens (16-35mm) to capture the panorama; the layers of silhouettes and sunset glow are fantastic.
I tested two Camera Positions:
- Center of Viewing Platform: Directly faces Yubi Peak and the nearby “Fairy Scattering Flowers” peak. At sunset, both tips are edged in gold, looking like two people standing side-by-side. Use a tripod and place the horizon in the bottom third of the frame, giving the sky two-thirds so the sunset colors fill the image.
- Projecting Rock on the Right: Walk 5 meters to the right of the center to find a protruding rock (it has a guardrail, don’t get too close). Shoot from a low angle. The “pen barrel” of Yubi Peak sits right against the foreground rock with the pink-purple sunset as a background. The composition is as clean as a postcard—I stayed there for 10 minutes until the glow faded.
I once saw a girl shooting with a phone. Without a tripod, her hands shook and the image was a blur, with the reflection on the tips invisible. I lent her my portable tripod and set a 2-second timer; only then could she capture the sharp oblique light effect. For telephoto close-ups at sunset, a tripod is essential; a steady hand is everything.
- 3:50 PM leave guesthouse, walk straight along Wulingyuan Avenue (pass cured meat stalls, osmanthus trees) → 4:10 arrive at Ten-Mile Gallery Visitor Center
- Buy one-way train ticket 38 (Carriage 4 window seat) → 4:15 board train, 20 minutes to Wolong Ridge Station
- Walk 8 minutes following wooden signs (red arrows, downhill with azaleas) → 4:33 arrive at wooden viewing platform
- Shooting period: 17:00-18:30 (Golden hour of oblique light), after 18:30 shoot sunset silhouettes
- Position 1: Center for panorama (Yubi Peak + Fairy Scattering Flowers); Position 2: Right rock for low-angle (foreground rock + sunset background)
|
Item
|
Details
|
Cost/Time
|
|---|---|---|
|
Departure
|
3:50 PM (Leave guesthouse, walk down Wulingyuan Avenue)
|
20-minute walk to Visitor Center
|
|
Small Train
|
Visitor Center → Wolong Ridge Station (One-way 38, Carriage 4 window)
|
Cost 38, Time 20 minutes
|
|
Walk to Platform
|
Wolong Ridge Station along wooden signs (red arrows) for 8 minutes (downhill, azaleas)
|
8 minutes
|
|
Golden Hour
|
1 hour before sunset (around 17:00) oblique light on tips, after 18:30 silhouettes
|
Key period 17:00-19:00
|
|
Position 1
|
Center platform (Yubi + Fairy panorama, horizon at bottom 1/3)
|
No cost
|
|
Position 2
|
Right rock (5m right of center, low angle, foreground rock + sunset)
|
No cost
|
|
Essential Gear
|
Telephoto lens (70-200mm for close-ups), Tripod (stability), Thin scarf (cool evening wind)
|
Lens approx 8000
|
|
Shooting Settings
|
Oblique light: Telephoto f/5.6, ISO 200; Glow: Wide f/8, ISO 400
|
No extra cost
|
Key Reminders: Don’t buy a round-trip train ticket, save 38; watch the signs while walking so you don’t take the fork to the “Monkey Garden”; the right-side rock has moss, so wear non-slip shoes. Following this rhythm, arriving at 16:00 gives you the oblique light at 17:00 and sunset glow at 18:30 for perfectly layered photos—don’t repeat my half-hour delay mistake from last time.
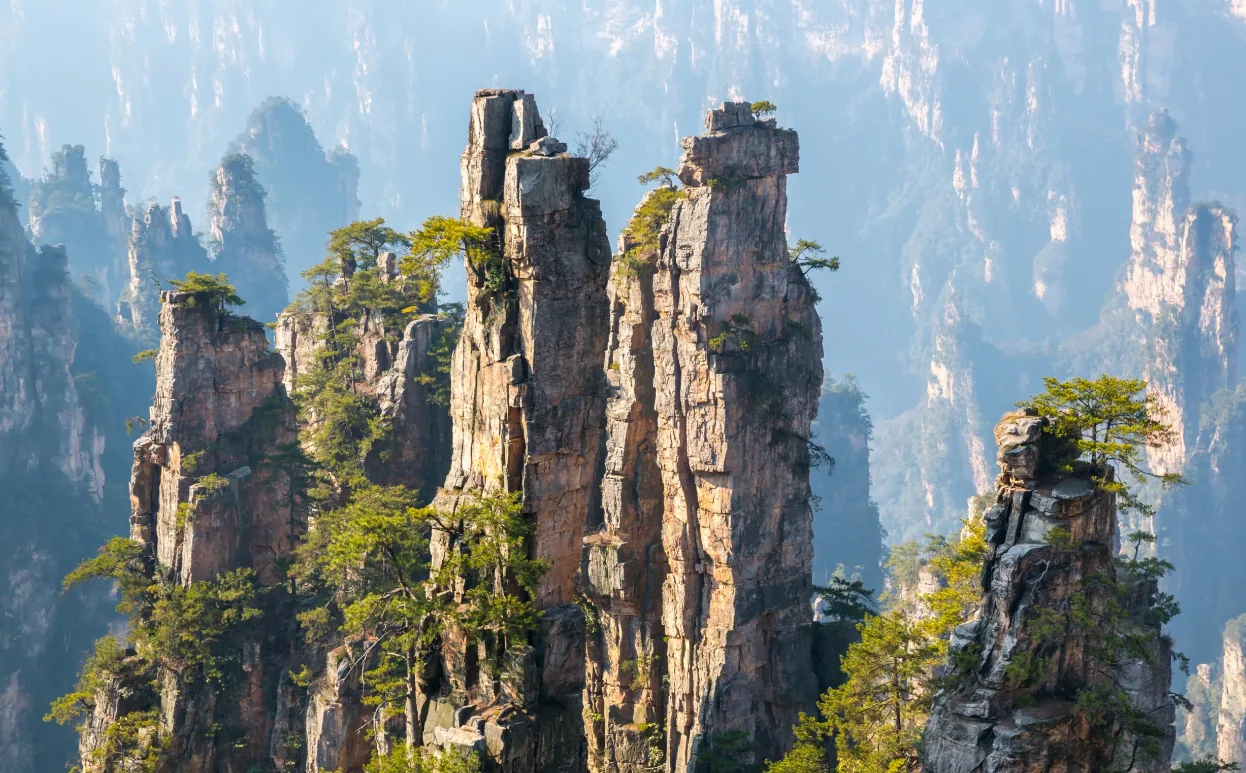
Day 4: Shooting Sea of Clouds at Tianmen Cave, Depart at 5:00, Shoot 6:00-9:00
To capture the sea of clouds at Tianmen Cave, I woke up at 4:50 AM. Wu, the guesthouse owner, helped me book a Didi. The car arrived at 5:00 sharp—a white sedan driven by Mr. Chen, who said he often drives between Wulingyuan and Tianmen Mountain, arriving steadily in 15 minutes. The streetlights were still on. While crossing the Lishui Bridge, I saw thin mist floating on the river. I arrived at the Tianmen Mountain Cableway Lower Station exactly at 5:15. Cold wind blew down my neck, so I quickly pulled up my windbreaker hood. The ticket hall is in the blue-roofed building on the left. 3 of the 5 windows were open. An “A-Line” ticket is 278 including insurance (electronic tickets allow direct ID card entry). The lady at the window reminded me: “Line A is from the city to the mountain, the forward direction; go straight to the West Line at the top,” don’t buy Line B (mountain to city, which requires climbing first).
The cable car is red and holds 8 people. I chose a seat near the door for the view. During the 28-minute ride, the view changed from city buildings to mountain forests. Near the top, the silhouette of Tianmen Cave looked like a square opening set in the mountainside. Turn right after exiting the cableway and follow the signs for the “West Line Glass Skywalk” (green background, white text, arrow pointing uphill). The path is a gentle bluestone road. There were 3 intersections marked “Through-Mountain Escalator” within 20 minutes. At the last fork, I saw the open-air platform (with iron railings and a sign saying “Escalator Down from Here”)—Do NOT take the escalator down! The platform above is the spot for the sea of clouds; going down to the base of the cave blocks the view.
I arrived at the platform at 6:30 last time. The sea of clouds was just reaching the lower edge of the cave, like a white border. After waiting 20 minutes, around 7:00, the clouds rose to the bottom 1/3 of the opening, looking like a cloud carpet floating in front of the cave. At this point, use a wide-angle lens (16-35mm) for an upward shot. Let the cave and clouds occupy 2/3 of the frame, and place the cableway tower in the bottom left as a foreground to add depth. If the clouds rise too high and cover the cave (around 8:00), don’t wait. Walk 50 meters down from the platform across the bridge (wooden bridge with handrails) to the eye-level path on the opposite ridge. The clouds churn in the valley with Tianmen Cave on the right. In the backlit morning light, the cave opening has a golden halo, like a lit lamp.
I tested two Camera Positions:
- Edge of Escalator Platform: Stand inside the railings (don’t lean out!) and shoot at a 45-degree upward angle. With the cableway tower in the front left and the cave centered with clouds below, use a tripod and settings of f/11, ISO 100, and a 3-second long exposure to capture the cloud movement. I once took a “clouds swallowing the cave” shot that a friend later asked for as a phone wallpaper.
- Opposite Ridge Path: Go down 30 steps from the platform and cross the wooden bridge (the planks are a bit shaky). The path is crushed stone. Walk 20 minutes to an open area. For an eye-level shot, the cave is on the right while the clouds stretch to the left. Use a 70-200mm telephoto lens to see the texture of the cloud waves; the halo around the cave in backlighting looks like it has a built-in filter.
I once saw a tourist without spare batteries. After shooting clouds for half an hour, the camera went black—low temperatures on the mountain (around 5°C) drain power extremely fast. That time, I brought two spare batteries (kept in the inner pocket of my down jacket to stay warm). I shot from 6:00 to 8:30 and still had one bar left. There was also a girl without a graduated neutral density (GND) filter whose sky was overexposed white, losing all cloud detail. She borrowed my Kase 0.6 filter to balance the exposure.
- 5:00 depart guesthouse (Didi booked, white sedan) → 5:15 arrive at Tianmen Mountain Cableway Lower Station (Fare 30)
- Buy A-Line ticket 278 (Swipe ID to enter, door seat for view) → 5:30 board cableway (28 minutes to top)
- Exit cableway, turn right along “West Line Glass Skywalk” signs for 20 minutes (stone path, 3 forks marked “Escalator”) → 5:50 arrive at open platform above escalator (Don’t go down)
- Shooting period: 6:00-9:00 (Golden hour 6:30-8:00), wait for clouds to reach 1/3 of the cave opening
- Position 1: Platform edge upward shot (Cableway tower as foreground, 16-35mm wide-angle); Position 2: Opposite ridge path eye-level (70-200mm telephoto for halo)
|
Item
|
Details
|
Cost/Time
|
|---|---|---|
|
Transport
|
5:00 Didi from guesthouse (White sedan, driver Mr. Chen) → 5:15 at Station
|
Fare 30, Time 15 minutes
|
|
Cableway Ticket
|
Line A “City → Mountain” 278 including insurance (Swipe ID for entry, door seat)
|
Cost 278
|
|
Cableway Ride
|
Red cabin, 8 seats, 28 minutes (view mountains and cave silhouette)
|
Time 28 minutes
|
|
Walk to Platform
|
Exit cableway, turn right, follow green signs for 20 minutes (stone path, 3 forks)
|
Time 20 minutes
|
|
Golden Hour
|
When clouds reach bottom 1/3 of cave (approx 6:30-8:00), otherwise use ridge path
|
Key period 6:00-9:00
|
|
Position 1
|
Platform edge upward shot (Tower as foreground, 16-35mm, f/11/ISO100/3s exp)
|
No cost
|
|
Position 2
|
Opposite ridge path (30 steps down, cross bridge, 70-200mm telephoto for halo)
|
No cost
|
|
Essential Gear
|
Tripod (long exposure), GND filter (Kase 0.6), 2 spare batteries (cold drain)
|
Tripod 500, Filter 300
|
|
Pitfall Warning
|
Book Line A 3 days early on official site (site sells out); arrive before 7:00 for short lines; don’t take escalator down
|
No booking fee on site
|
Personal Insight: The sea of clouds at Tianmen Cave really depends on luck—I went two days in a row; the first day was perfect at 1/3 cave height, but the second day the clouds scattered, so I shot the peaks instead. Keep a steady mind; if there are no clouds, shoot the cave itself, as its steepness is also impressive. Switch positions often, for example, after shooting upward from the platform, immediately go to the ridge path for eye-level shots. Following this route, leaving at 5:00 and arriving by 6:00, you’ll catch the rising clouds. A patient 20-minute wait will get the shot—tested and effective, don’t repeat my mistake of forgetting spare batteries.
Related Guides
- Zhangjiajie Autumn 4-Day Leaf-Peeping Guide | Tianzi Mountain Colorful Forests + Baofeng Lake Reflections, Encounter the Peak of Colors
- Zhangjiajie 4-Day Family Travel Guide | Take Kids to Easily Enjoy Cable Cars/Monkeys/Geology Class, Tired-Free Version for Traveling with Kids
- Zhangjiajie 5-Day Classic Route Planning
- Zhangjiajie 5-Day In-Depth Tour | Wulingyuan + Tianzi Mountain + Glass Skywalk, Unlock Natural Wonders and Cultural Charms
- Where should I live in Zhangjiajie City or Wulingyuan | Scenic area distance, transportation time and accommodation options
Tianmen Mountain — — Key Facts
Tickets & Booking
- Tianmen Mountain National Forest Park combined ticket (lines A/B/C same price, including ticket + cableway + eco-bus): Official adult combined ticket from CNY 288; peak season (Apr 1–Oct 31) adult combined ticket about CNY 278, off-peak (Nov 1–Mar 31 of the following year) about CNY 225 (guide figures; for reference); advance booking required (Online reservation via the official website/official channels; tickets use timed entry and there are no remaining tickets on site in peak season)[src]
- Tianmen Mountain concession policy: Half price for seniors 60–64 and full-time students; free main gate ticket for under 14 and over 65, with only transport fees charged; no booking required[src]
Where to Stay · Room Type · Nearby
- Guanliping cableway area (around the Tianmen Mountain cableway lower station; strongly recommended) | Reference price Budget guesthouses/chains about CNY 160–300, mid-range about CNY 320–550 per night (reference) | Room tip: About a 5-minute walk to the cableway entrance, convenient for early queuing; some mountain-view rooms, most offer free | Nearby add-ons: Tianmen Mountain cableway, Tianmen Cave, Ghost Valley Plank Road, glass walkway[src]
- Zhangjiajie city (Dayong Ancient Town, Nanmenkou area) | Reference price About CNY 140–320 per night (reference) | Room tip: Dense dining and good value, about 10 min by taxi to the cableway station; no accommodation at the summit | Nearby add-ons: Dayong Ancient Town, Nanmenkou, Tujia Folk Customs Park[src]
Typical Climate & Packing (Past Years)
- Spring (Mar–May): 9 °C–23 °C °C, Windy and cloudy at the summit; the glass walkway may close temporar
- Summer (Jun–Aug): 22 °C–33 °C °C, The city is hot and the summit cooler; watch for thunderstorms
- Autumn (Sep–Nov): 10 °C–29 °C °C, Autumn is good for travel and the summit has good visibility
- Winter (Dec–Feb): 3 °C–12 °C °C, In winter the summit has rime and ice; wear a thick down jacket; in